0x01 // Obtaining a VoIP Number and Configuring an ATA


With everyone relying on mobile phones today it's becoming more and more rare that a modern home has a landline. It's doubtful I can assume someone owns a modem, let alone a phone line capable of supporting it.
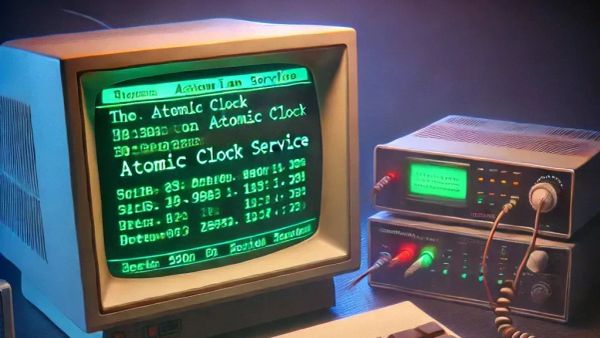
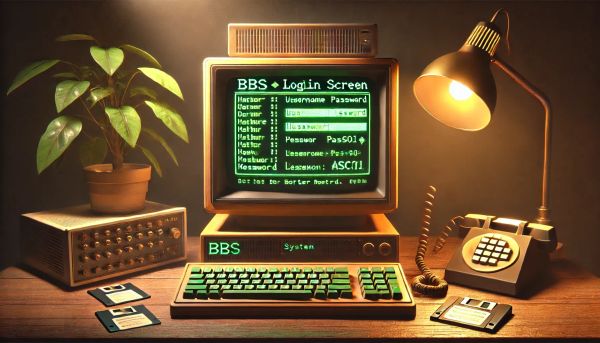
We start our journey together by establishing a future proof solution for the ability to make calls with analog technology again. This is a prerequisite to access any BBS (Bulletin Board System) in original analog form and will support our experiments as they evolve over the coming weeks and months.
The recommendations that follow are based on my own experiences. There are many options for VoIP (Voice over Internet Protocol) providers, just as there are many options for ATA (Analog telephone adapter) hardware. Just the same, if you are lucky enough (or unlucky enough) to still be relying on a POTS (Plain old telephone service) line to your home that should work as well for what's to come next curtesy of BBS From Scratch.
Acquiring Hardware
NOTE: This section includes affiliate links
The ATA I have configured, and would recommend today, is manufactured by Grandstream. They have a number of models and can assist in supporting one, two, four or even more phone lines. The model I would recommend if starting from scratch is the Grandstream 2-FXS Port Analog Telephone Adapter (HT802)
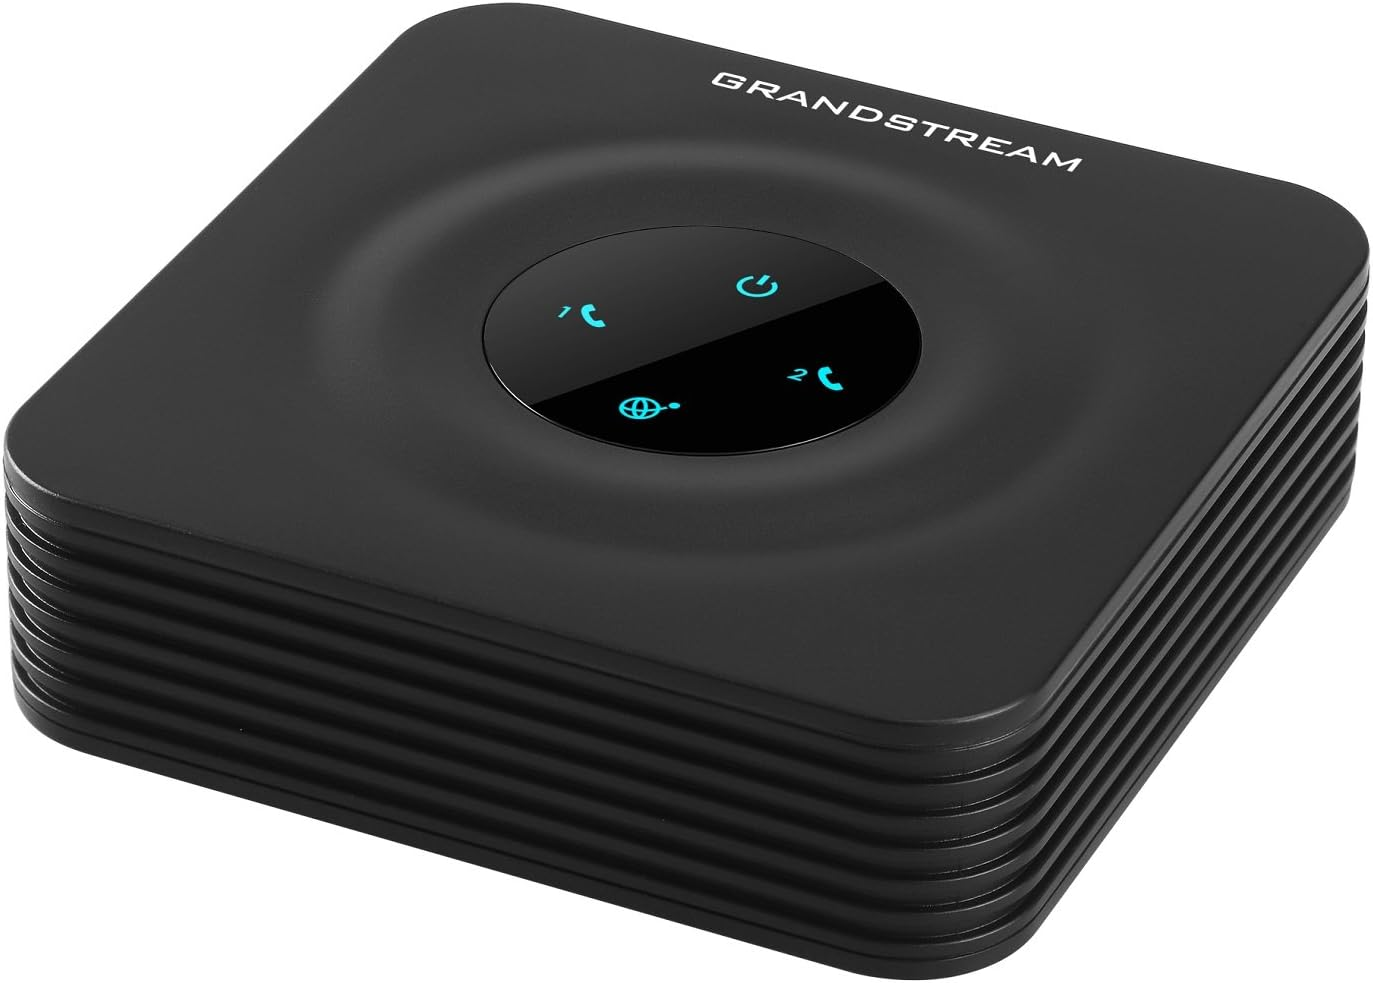
The HT802 has two FXS (Foreign Exchange Station) ports which will enable you in the coming weeks to not only call other computers but will allow you to host your own system and call it yourself, or use two terminal programs between two computers, no matter their age, to further communicate or troubleshoot without involving unknown third parties and tying up their own lines.
Now, if your retro computers are not physically located near your modern computers, that may be a valid reason to purchase multiple ATAs instead so each phone line can be physically located in different areas of your home. While there is a single port HT801, I'd still wager the extra port on the HT802 is worth the small additional up front cost. No matter the initial use case, additional ports would allow for expansion or reconfiguration in the future.
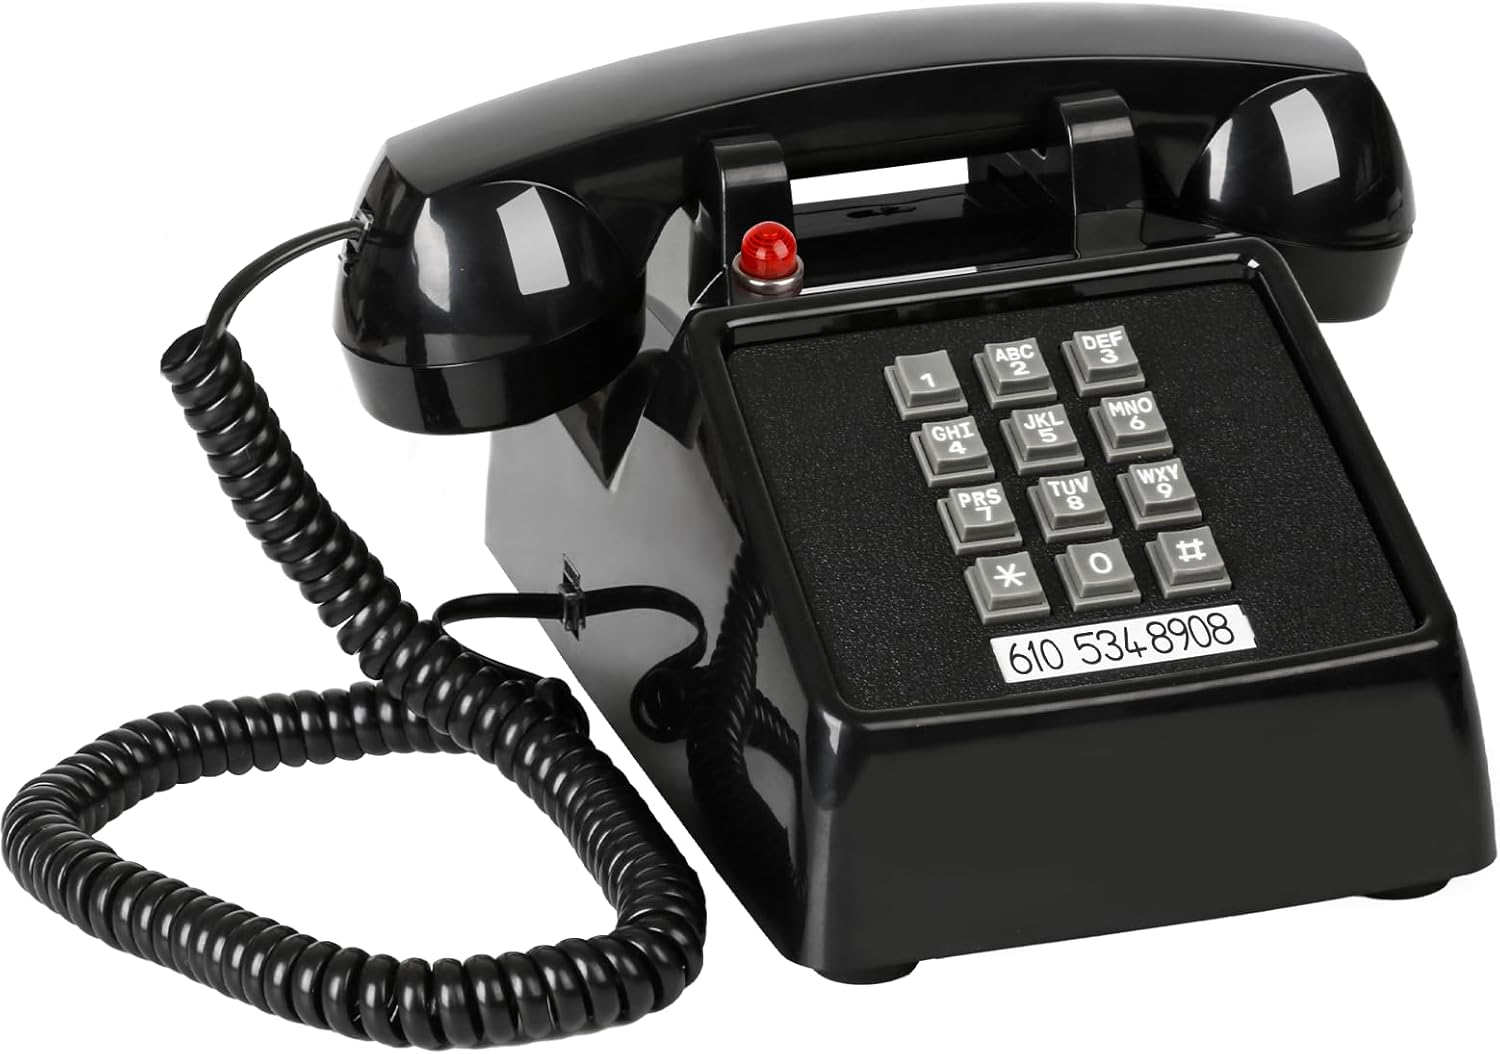
I'd also recommend picking up something like the Classic Analog Desk Phone that is pictured below. This will make configuration and testing the line much easier, also, how retro is that?!
Finally, don't forget some Telephone Extension Cords - if you're anything like me you pretty much tossed all that stuff out years ago. One per device (phones, modems) should be good to start.
Getting a Phone Number
Start by signing up for VoIP.ms as they are a reputable company within the community. If you signup with my referral code we both should receive some credits which will help to subsidize connections to the BBS when it comes online.
Next, fund your account under Finances > Add Funds. The minimum amount of $15 will be more than sufficient to get you started and could last for months!
Once funded, you'll need to acquire a DID (Direct Inward Dialing number) aka phone number under DID Numbers > Order DIDs.
Pick your region under Local Number and search for a number that suits you. Remember, phones have alphanumeric keypads... have fun with it!
As part of the configuration you'll select a payment plan. Flat Rate (inbound) is my recommendation and will max out the two port ATA.
For the POP Server, for now, pick the city geographically closest to you. We may explore optimizing this in the future as latency will have a significant impact on modems.
Lastly the SIP/IAX can be set to your main account. Sub Accounts and Ring Groups will come into play in the future.
Take note of the main account and POP Server. You'll need this shortly.
Once ordered, there is an additional setting I recommend changing now to save headaches with outbound calls. Pull up Main Menu > Account Settings > General and set CallerID Number to the number you just purchased under Use one of my DIDs. Without a valid number configured for Caller ID outbound calls will not function!
Setting up the ATA.
Start by unpacking the Grandstream and plugging it in with an ethernet cable where you intend on using it. It does not support Wi-Fi so you'll need a physical connection, and you wouldn't want to anyway as it could introduce latency into the line which would not be helpful.
Take note of the default password, it's on the bottom of the unit. The username will be admin, of course.
Got that phone I recommended? Here's where the fun starts. Plug it into the Grandstream and verify you have a dial tone. Now dial *** 0 2 and have a pen ready. That's the IP Address of the device! How cool is that?!
Pull that address up in a web browser and get logged in. It's time to configure. VoIP.ms has a specific configuration guide for the device that I used. I've already taken you through some of it, you should be able to pickup at Configuring device's port FXS if you'd prefer to follow it directly. It's from an older revision of the unit so the screens are different, but take your time and change the settings one by one. I've copied the relevant remaining part of the guide below so you shouldn't need to leave this page. These Settings will be entered for your FXS Port under Port Settings.
- Primary SIP Server: servername.voip.ms (e.g. newyork1.voip.ms)
- Failover SIP Server: (leave this blank)
- Outbound Proxy: (leave this blank)
- NAT Traversal: Keep-Alive
- SIP User ID: (Replace with your voip.ms main account e.g. 100000)
- Authenticate ID: (Replace with your voip.ms main account e.g. 100000)
- Authenticate Password: (Use your voip.ms password)
- DNS Mode: A Record
- SIP Registration: Yes
- Unregister On Reboot: No
- Outgoing Call Without Registration: Yes
- Register Expiration: 5
- Allow Incoming SIP Messages from SIP Proxy Only: Yes
- Preferred DTMF method: In-audio, RFC2833
- Use P-Access-Network-Info Header: No
- Use P-Emergency-info Header: No
- Enable Call Features: No
- Dial Plan: {[x*]+}
- Preferred Vocoder: PCMU
NOTE: The Preferred Vocoder setting above differs from the linked guide. This will be explained further in a future article.
The guide has a few other configuration options that are outside the scope of this tutorial including how to setup encryption and some network security. I'd recommend reading through those as well and revisiting them after confirming your line is functioning as intended.
Time to make some calls!
First off, try calling 4443. This is a number provided by VoIP.ms to do an "Echo Test". It will verify your phone is reaching their network and repeat any audio spoken by you back to you.
Next, try calling inbound from any other phone to your new number. What a glorious ring! Home stretch.
Finally, try calling outbound from your new line to your own cell phone. Works? Good. Then you listened to me about setting up your outbound Caller ID. Good job!
If anything has gone sideways, check the status lights on the Grandstream as well as the Port Status and make sure it's On Hook and Registered.

VoIP.ms also has helpful logging such as Finances > Call Detail Records which could come in handy to troubleshoot if your inbound and outbound calls are routed correctly.
Signing off...
That's about it for this week. You should now have a nice new phone line and number you can use to start pranking your friends and family. Next week we will dive into modems and some recommendations for hardware and software for modern operating systems.
If you haven't subscribed, consider doing so here, it's free! If you're already a subscriber consider sharing this article on your social media of choice. It would go a long way to growing the community.
This week I've also christened the entry level paid tier, Call Me Maybe. Now you've got a phone. I've got an answering machine. Want to call it? Bump up that membership and I'll email you the number.