0x02 // Dialing Out! Talking to Atomic Clocks via a Modem


Next on our adventure is the procurement and testing of an external modem. While internal modems as well as USB modems might do the job, compatibility across modern and vintage systems will vary at best. Conversely, serial port modems with the proper adapters work flawlessly even on the most modern computers. Let's get our selves some hardware, configure it, and test it out with something special.
Purchasing a modem
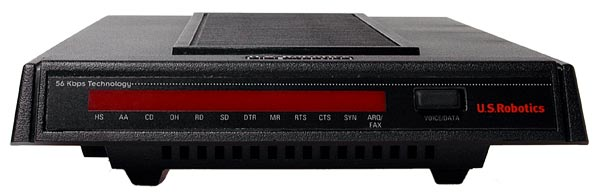
This guide recommends the US Robotics 3453C modem above all others. The easiest path to acquiring such a modem today is by searching on eBay. With the right cables and adapters compatibility spans many generations of hardware from MS-DOS 6.22 through Windows 9x/NT and modern Linux/Mac/Windows operating systems.
I'd recommend purchasing one that also includes a power adapter and some indication from the seller that it powers on. The rest of the items can be acquired separately.
There's a chance, but not a large one, that the modern computer you are using day to day has serial ports. For guaranteed compatibility I recommend purchasing a RS232 to USB adapter cable.
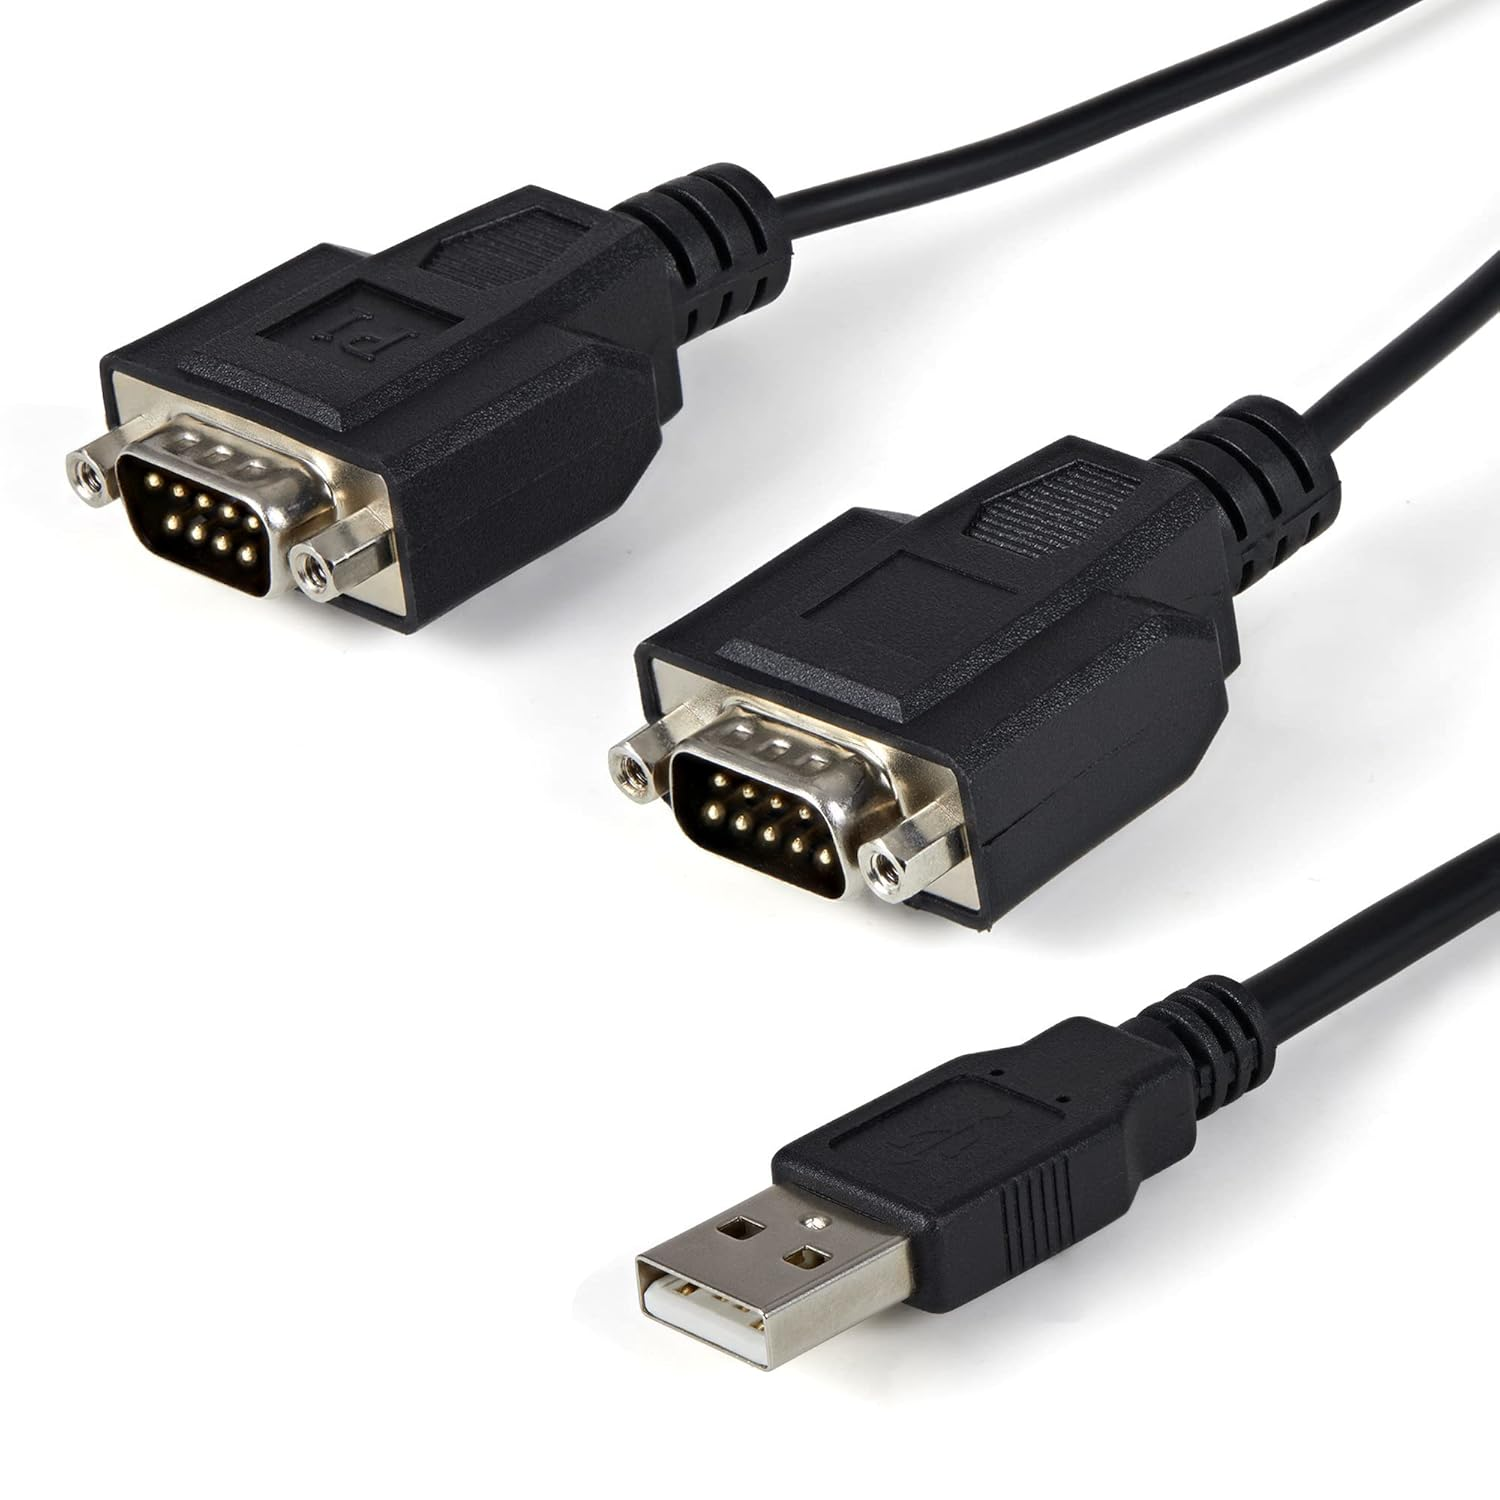
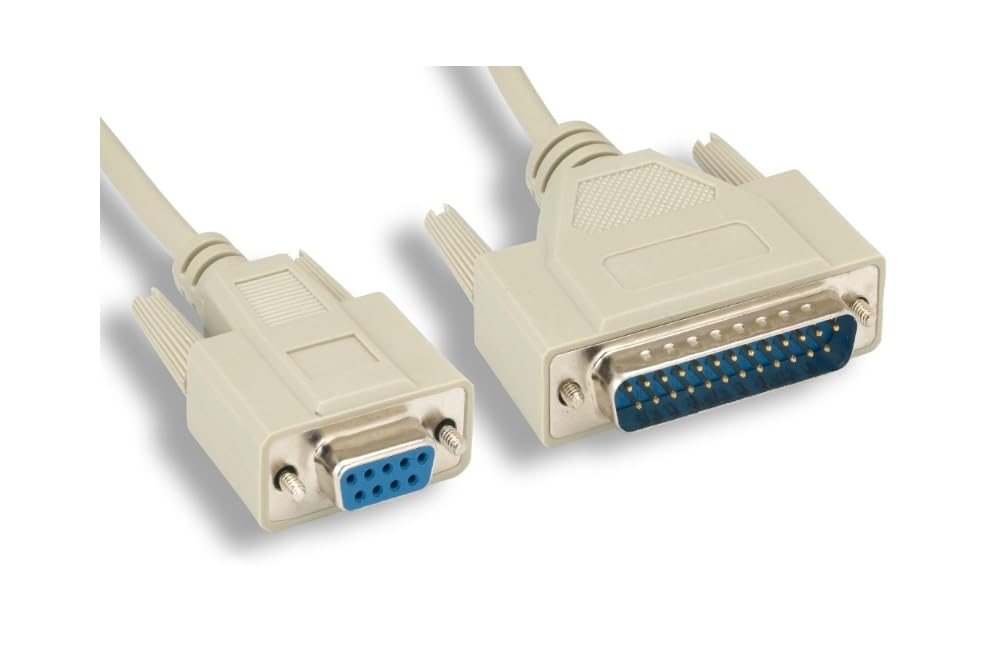
Additionally purchasing a fresh a DB9 to DB25 cable will allow easy connection of your modem to the adapter (or serial port on an older computer).
NOTE: Purchasing any of the recommended items from Amazon will toss me some of that affiliate cash and continue to fund these projects.
Setting up the Modem
When your modem arrives there's not much to do. Make sure it powers up with the switch on the back and that the button on the front of the unit does... something. There's also a slider switch under the front right side of the modem. Turn that all the way up! Thank me for the nostalgia later.
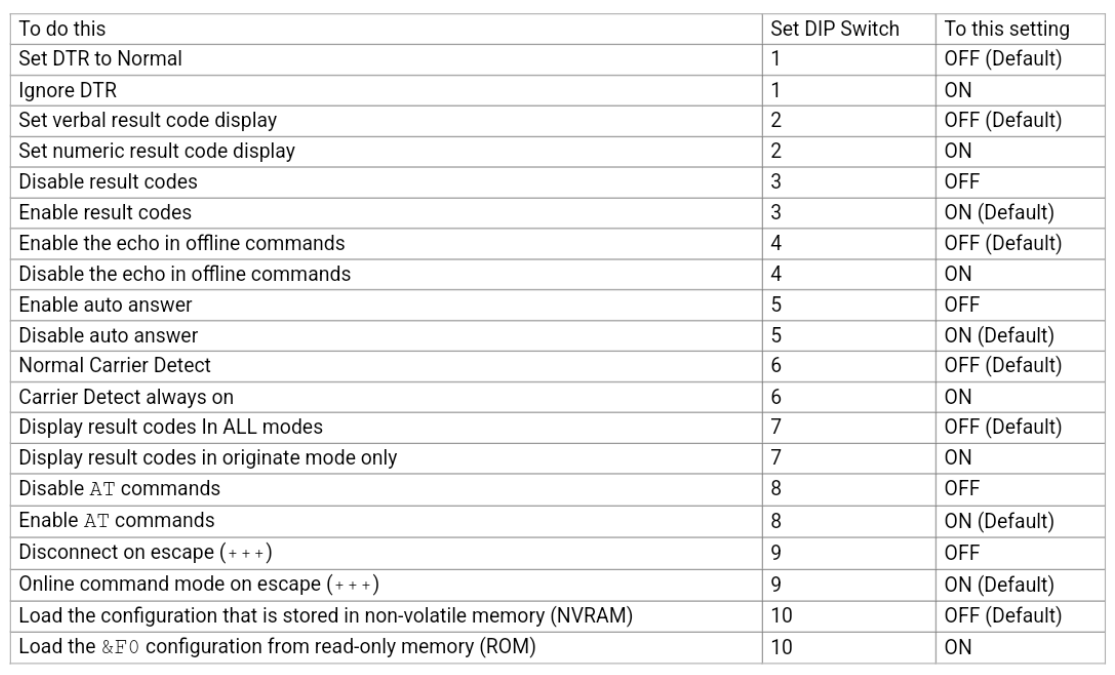
Also flip it over and you'll see a number of dip switches. I recommend resetting them to the factory defaults pictured below. I received one modem I thought was non-functional until realizing that Disable AT commands was ON! No idea in what configuration that is useful.

You may also chain the DB9 to DB25 cable to the modem as well as to the RS232 to USB port adapter. Take note of the connection numbers on the cabling. P1 will be the lowered number serial port (e.g. COM6) and P2 the higher (e.g. COM7). These identifiers will likely be different on your computer. Also take the time now to plug the modem into your ATA and to your computer.
Configuring the USB to Serial Adapter
It'd be ideal if the RS232 to USB "just works" when you plug it in. It did for me. If it doesn't you may not have an driver for FTDI (Future Technology Devices International) devices installed. The adapter does come with a Driver CD, but otherwise you can download that from StarTech.
Take a look in Device Manager. You should have some new USB Serial Port entries (e.g. COM6, COM7):
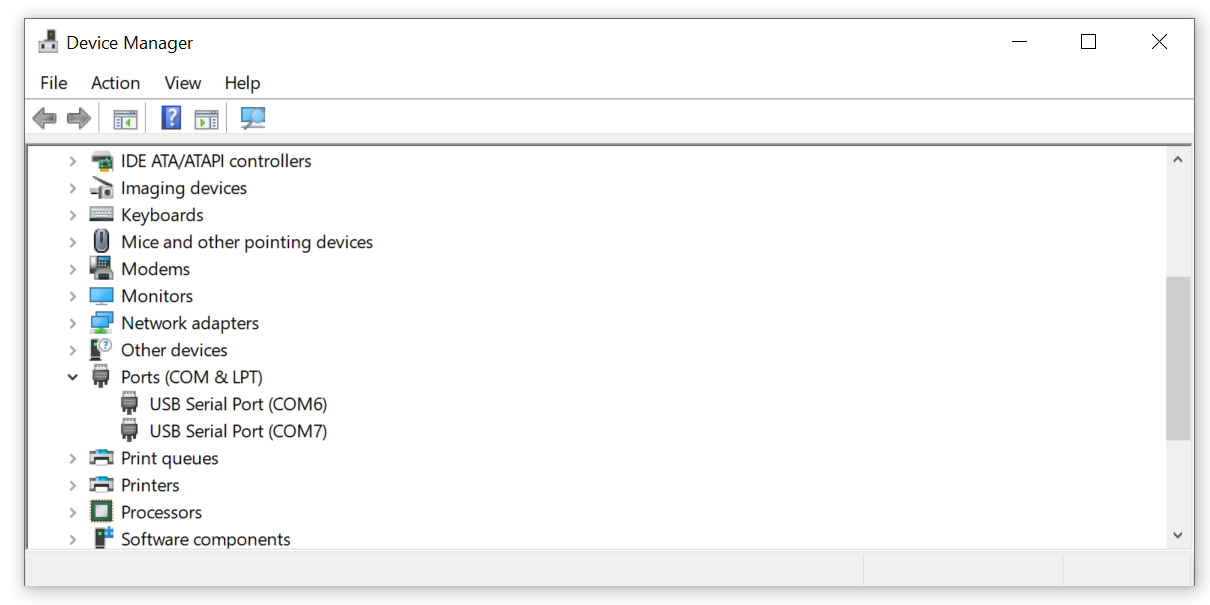
The default setting should be fine for this weeks tinkering. Take note of your lowest serial port number. We will use that later.
ATA Settings
Here's the secret sauce. VoIP connections are notorious for not playing well with analog modems. After a decent amount of research, I'd recommend the following and is what I have used to demonstrate functionality in this article. You can find these settings on a Grandstream HT801 under Port Settings > FXS Port > Audio Settings. They are the required adjustments from the sane defaults on the ATA.
Vocoder Settings:
- Vocoder Settings(in listed order): Set choice 1 through choice 8 to PCMU, it's all we want. You may also hear this referred to as G.711u or G.711 u-law.
- Fax Mode: Pass-Through
- Re-INVITE After Fax Tone Detected: Disabled
- Jitter Buffer Type: Fixed
- Jitter Buffer Length: Low
Analog signal line configuration:
- Disable Line Echo Canceller (LEC): Check the box
I reset one of my ATAs to be able to diff the settings one by one and that's all I found different. But getting here required quite a bit of research. There could be more to do and time will tell. Have any other tried and true suggestions? Leave some comments!
Tweaks on VoIP.ms
In your VoIP.ms account I'd recommend making one change under Main Menu > Account Settings > Advanced to further enforce the codec choice. Check G.711U and make sure to uncheck the remaining options. This now matches the ATA and will offer the best performance for analog modems lines.

Testing the modem
Alright it's time to use this thing! There's tons of software out there that can interact with bulletin boards, but let's go with something a little less (or more?) niche so we can understand what's happening. I'd recommend PuTTY. It's used less often these days but previously was a popular way to use SSH (Secure Shell) functionality on windows.
For the call, NIST (National Institute of Standards and Technology) still operates a time service accessible over dialup modem called ACTS (Automated Computer Time Service) which provides time information from an atomic clock! It's recommended you continue to use modern internet based time services where possible, but for the purposes of testing our connection this is a slick little line to dialup and check out the protocol of this service.
From the site:
The ACTS system in Colorado has four phone lines and receives an average of 700 calls per day. It can be reached by dialing (303) 494-4774.
The ACTS system in Hawaii has two phone lines and receives about 100 calls per day. It can be reached by dialing (808) 335-4721.
I've tested both lines and they appear functional as of writing.
I also read that the USNO (US Naval Observatory) also has a two line time service, but in my testing there was no answer to either line. If you have any information on that service, or other similar services, drop a comment.
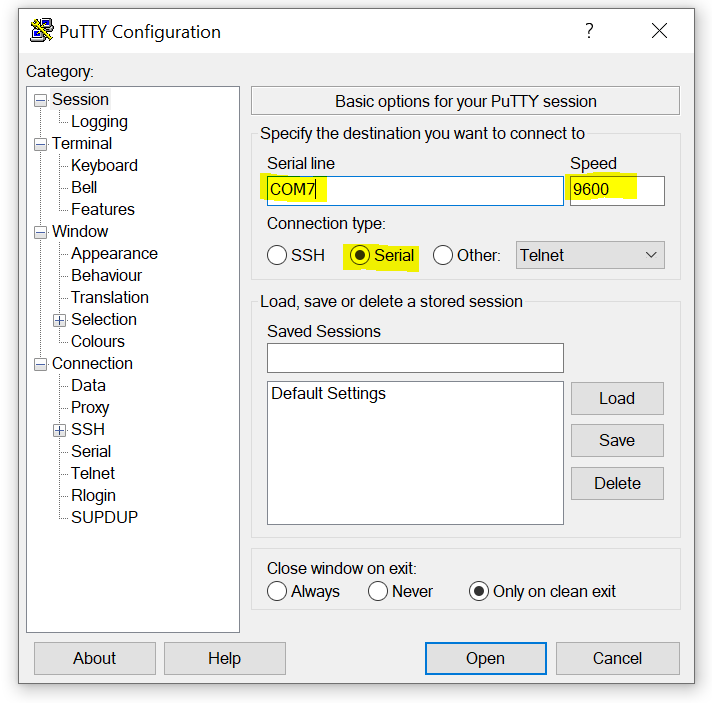
Ok, Open PuTTY and set the settings as follows: Remember! Your serial port may be different. No other settings need changed for this demonstration. Once set, click Open.
You should see an empty black screen:
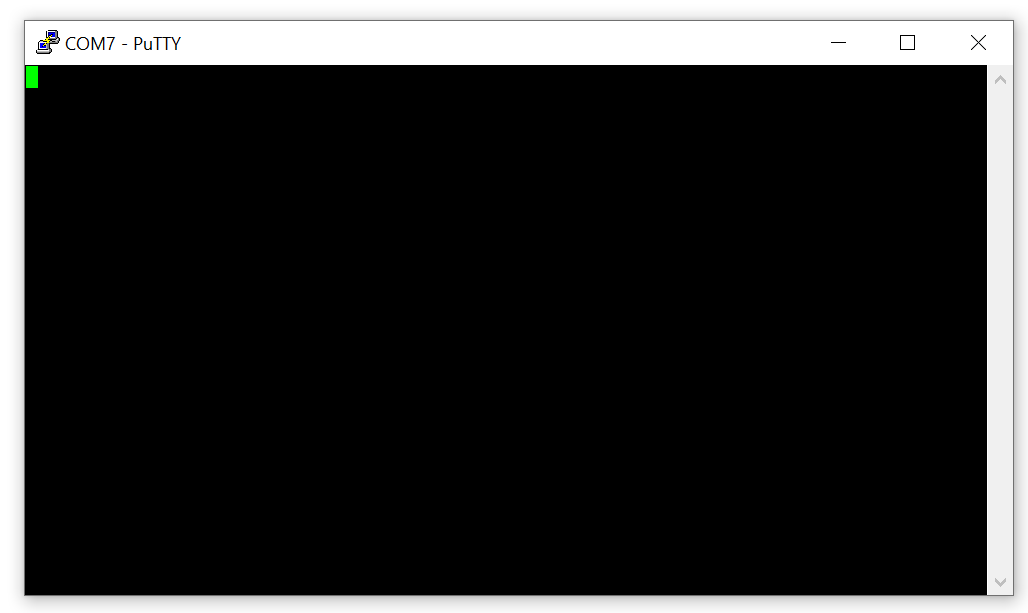
Type the following and press Enter:
ATThe response from the modem should read OK. Congratulations, you've just communicated with your modem for the first time. Now try:
AT&FShould receive another OK from the modem. This is the beginnings of a modem initialization string which ensures we are starting with factory defaults. Let's get this done. Try:
ATDT3034944774The modem should start dialing, make that beautiful handshake sound, and CONNECT!
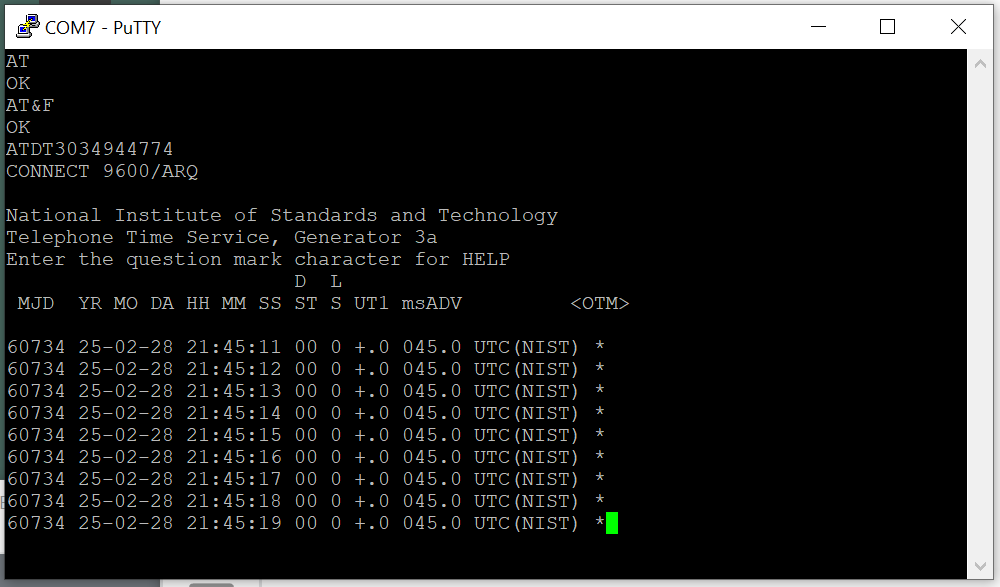
We did it!
Starting from nothing we have established end to end communication from a modern operating system, using manually entered commands from the AT command set, over a USB to serial connection, through a modem, encapsulated in VoIP via an ATA, across the internet, through who knows what plain old telephone system lines, and retrieved information from another computer system. Phew!
Definitely not as easy as it used to be, that's for sure. But it still works! Now there's so much more we can do. I have a lot more planned, but at this point the prologue is complete. We will begin branching out and exploring varying topics week over week.
Know of any other interesting modem lines that are still online? Drop a comment below, especially if it's not a run-of-the-mill bulletin board system. They'll come in handy for something I have in mind.
Oh, and if you haven't subscribed, consider doing so here, it's free! If you're already a subscriber consider sharing this article on your social media of choice. It would go a long way to growing the community. Thanks!
Sysop, out.